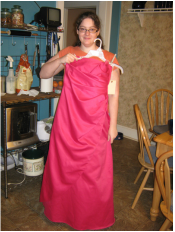
Kristina loves pink and when she saw this prom dress at Recyclique, she had to have it. Well sure it's a couple sizes too small but who cares? She wanted it turned into a skirt and this is how we did it. Easy peasy!
| Kristina loves pink and when she saw this prom dress at Recyclique, she had to have it. Well sure it's a couple sizes too small but who cares? She wanted it turned into a skirt and this is how we did it. Easy peasy!
0 Comments
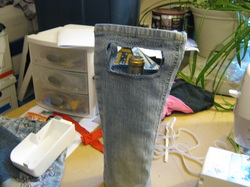 I was looking at a pair of Rami's old jeans and thought I could make a wine carrier or gift bag out of them. Here it is! What do you think?
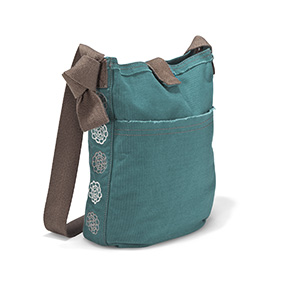
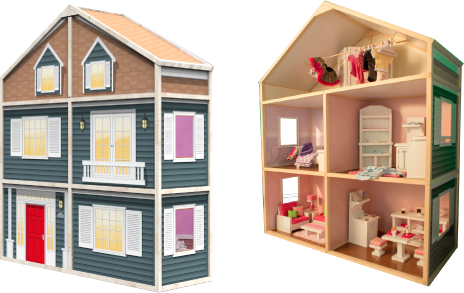
Materials needed: Kid jeans small piece of cotton batting  Ok, not me, its my daughter, but she is cuter. ^^ Ok, not me, its my daughter, but she is cuter. ^^ Kristina here, I was just browsing through my Etsy Activity and realized suddenly that I'd really like to share some of the amazing stuff I found. However, I don't feel like writing an entire blog on any one particular one, so I'm testing out a blog treasury! Let me know what you guys think and if you'd want to see more in the future. Click the pictures to get to the items (get a free Etsy account to buy if you don't have one already). Disclaimer: I don't get any benefit from recommending these items, I haven't tried out any of these items, if you buy them and don't like them I am not responsible, I just like the pictures, lol.)
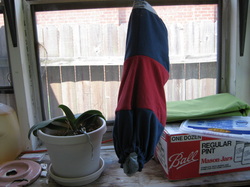 We have made quite a bit of tarn lately which means we have a lot of scraps - including sleeves. I thought these sleeves might make a good bag holder. While we are all trying to reduce, sometimes you end up with those plastic shopping bags anyway, so here is something to hold them in!
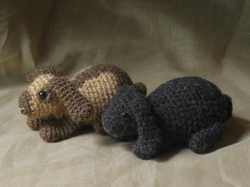 As you may, or may not, have noticed, I'm a sucker for amigurumi. Here is a fellow blogger and crafter that has cute little animals. I especially love the little rabbit. (click the picture to go to their blog)  I love seeing the drawings and reading about the process. I may start sketching out my ideas in a notebook or something. of course I can't draw so that may be a bad idea. If you want some cute patterns with amazing information on the process check it out.
Thanks for reading, Kristina 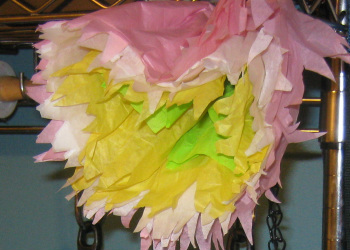 Hey everyone! I wanted to make something for my granddaughter’s room recently and when I stumbled on these flowers made with tissue paper or napkins, I knew this is what I had to make! But then I was hmm….where to put them? I purchased a wire hanging basket and made dozens of flowers in several sizes and then attached them to the basket. Worked awesome if I say so myself 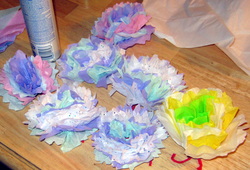 These flowers are so simple and yet give you such a sense of satisfaction when you have completed them, I want to make them all day every day! I used tissue paper so will give instructions for that and will include the links for the napkin ones too. 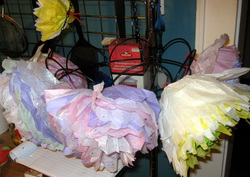 Basically take the tissue paper and lay flat adding as many layers as you want (the more layers the fluffier the flower)– I made my flowers with 8 sheets. Then decide what size you want your flowers? I had the standard sized tissue sheets and cut them into quarters this was one size flower; I took one of the quarters and halved it, giving me the smaller size. Due to some crooked cutting and other errors, I did end up with a few other random sized ones too. All part of the fun! 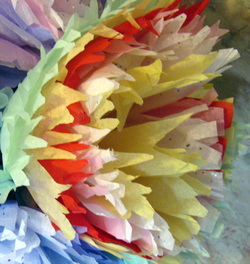 Next take your layered tissue paper and fold it accordion style, I used about 1 inch folds. Secure the middle with string or twist tie and then cut the two ends – use your imagination here as each way you cut the edges will make a whole new flower! I cut the ends into a round shape, triangular and wavy. 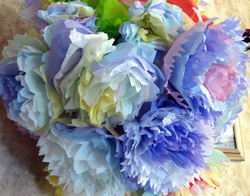 Gently holding the flower from the middle start pulling each individual sheet up from the edge to the middle. This makes the flower petals. I found that if they sheets seemed determined to stay together if I used one hand to pull forward and the other to gently pull back it helped. Now gently mold and fluff your flower until you have the desired effect! 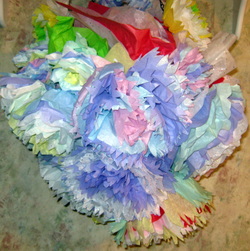 Hope you enjoyed this craft lesson and go out today and make some flowers! Decorate your world and live happy!
Thanks for reading! Millie P.S. The links: http://www.dana-made-it.com/2008/07/tutorial-wallflowers.html http://www.aestheticnest.com/2010/05/craft-flirty-fiesta-flower-bouquets.html We are trying to come up with 101 ways to reuse blue jeans! Fun project and, as a bonus, will help the environment but keeping these jeans from the landfill. 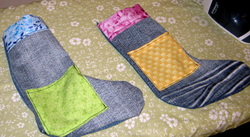 Brainstorming some ideas I decided to do a stocking! I saw these numerous places made of everything under the sun so I can't give credit to anywhere in particular.
| Loading
 We are making the move to Word Press with the help of our friend Janine (J9)
 AuthorsMillie and Kristina 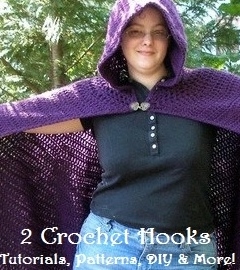
Click here to see all of our free and paid patterns
Click to Enter Thirty One Giveaway
Portion of sales to benefit Hope Animal Rescue!

Click to Enter!

Click to enter!

Click to Enter!
CategoriesAll Awesome Sponsors & Button Swaps
 
 
  Holiday Shopping/
Affiliate Links 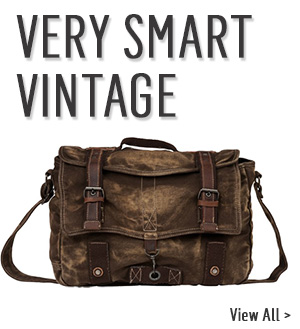
ArchivesNovember 2013  |
